
Guides Earthworks takeoff How-to
Cut and fill from a PDF plan in about ten minutes
Step by step: get cut and fill volumes from a PDF site plan in SitesAI Estimate — scale, boundary, existing and design levels, a 3D check, then export.
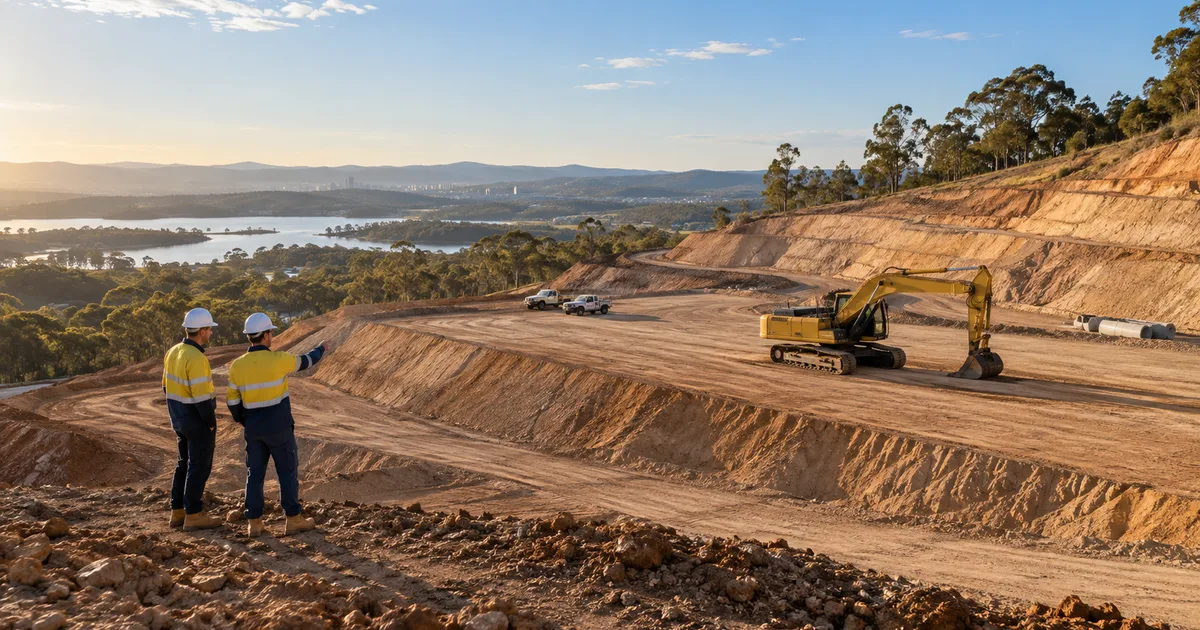
Every earthworks price starts with the same question: how much comes out, how much goes in. This guide walks through getting that number from an ordinary PDF site plan in SitesAI Estimate. Budget ten minutes for a simple platform; a subdivision with several pads takes longer, but the steps do not change.
You will need a PDF with a scale bar or a known dimension, and some source of existing levels — spot levels or contours printed on the plan, or a survey.
Step 1 — Add the plan
Sign in to SitesAI Estimate with a Google or Microsoft account and start a new project. Add a layer and choose the PDF: upload it, or pick it from Google Drive or OneDrive. Multi-page PDFs open page by page, so choose the site plan or the earthworks sheet rather than the cover.
If the engineer sent a DWG or DXF as well, add it as a second layer — it carries its own units and often its own levels, which shortens Steps 2 and 4. See DWG and DXF takeoff in the browser.
Step 2 — Calibrate the scale
A PDF has no idea how big it is. Click the scale bar's two ends, or two points a known distance apart (a lot boundary with a dimension on it is ideal), and type the real length. The whole layer is now in metres.
Check it once: measure a second known dimension somewhere else on the sheet. If it is out, the PDF was printed at a different scale from its title block — common with "not to scale" reissues — and the second measurement is the one to trust.
Step 3 — Trace the boundary
Draw the outline of the area you are moving earth on: the building platform, the pad, the road formation. Snap to the corners on the drawing. Cut and fill will be computed inside this boundary and nowhere else, so if the job has a batter zone outside the pad, include it or draw it as its own area.
The live cut and fill starts updating as soon as there is a boundary and levels to compare. Do not read it yet — the levels are not in.
Step 4 — Existing levels
Give the app the ground as it is now. Place the spot levels printed on the plan by clicking each one and typing its RL, or trace the existing contours and set the level for each line. A dozen well-spread points are worth more than fifty bunched in one corner. If you have a survey DXF, import its contours and spot levels into the existing surface instead of typing anything.
Step 5 — Design levels
Now the ground as it will be. For a flat pad, set the finished RL for the platform boundary. For a graded slab or a road, set levels at the points where the grade changes. Add the batters: the slope from the platform edge down or up to existing ground, at whatever ratio the design calls for.
The estimate now shows cut and fill for the design against existing, inside your boundary.
Step 6 — Check it in 3D
Open the 3D view. This is the fastest way to catch a typed level that is a metre out or a batter going the wrong way — the surface simply looks wrong. Rotate, look along the pad, compare it with what you saw on site. Fix anything odd and the volumes update.
Step 7 — Export and price
Export the quantities to Excel or a single-page PDF, or price the lines directly in the estimate: bulk excavation per cubic metre, imported fill, cart-away, compaction. Group them into stages if the job is staged. The volumes are geometric, so apply your own bulking and compaction factors as priced lines rather than expecting the software to guess your material.
What are the common mistakes?
- Reading the volume before the levels are in. The number is meaningless with a boundary alone.
- Mixing datums. A plan with levels to an assumed datum and a survey to AHD do not compare. Pick one.
- Forgetting the batters. The pad might be 200 m³ of cut; the batters can be another 200.
- Trusting the title-block scale. Calibrate from a dimension on the sheet, every time.
Once you have done this twice the steps become habit, and the ten minutes shrinks. If you would rather describe the job than click through it, the same workflow can be driven by an AI assistant through the MCP connector.
Questions people ask
Are the volumes bank or loose?
The volumes are geometric — the difference between the existing and design surfaces. Add your own bulking, compaction and haul allowances as priced lines in the estimate.
What if the plan has no levels?
You need levels from somewhere — a survey PDF, a DXF with contours, or spot levels you take on site. Without them there is nothing to compare the design against.
Can I do this on the free plan?
You can sign in, add a plan, mark up and view in 3D on the free plan. Cut and fill volume numbers, unlimited design sheets and exports are part of Pro — see the pricing page for the current details.
Try it on your next plan set — free.
Sign in with Google or Microsoft, add a PDF or DWG/DXF, and see cut and fill in minutes. Pro is US$39 per user per month, the AI plan has a free 14-day trial; cancel any time. What SitesAI Estimate does.